Canned No Pectin Strawberry Jam

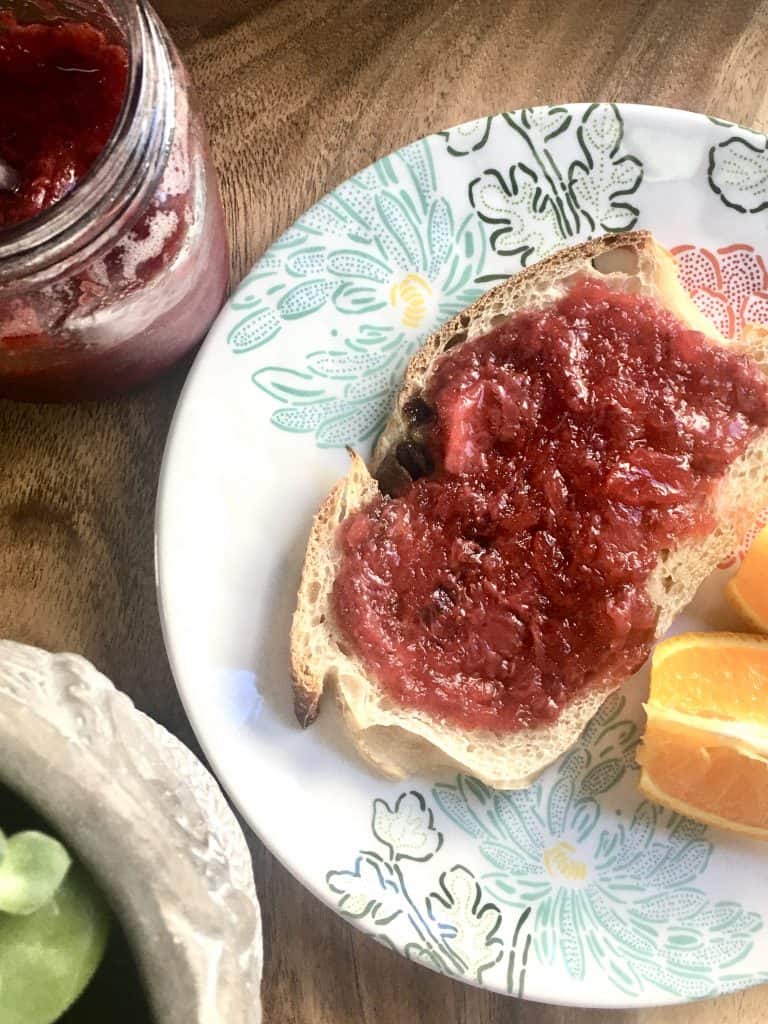
No pectin strawberry jam is very easy to make, and you control the ingredients. Using pectin is quite alright if you like to use that, but I’m trying to keep the least amount of processed foods from being consumed in our home.
So when it comes to homemade jam, I decided to go the natural way. Apples. Apples are a natural pectin, and it’s what our ancestors used to make jam.

Using the freshest strawberries possible is important, to get the sweetest jam. So if you have access to a local strawberry patch or farmers market, support your local friends and buy from them, your strawberries will be so sweet.

Another side note: not using pectin means your jam will set up differently. It’s not going to be firm as soon as it cools. It takes about a week for it to firm up in your pantry, but you can cheat a little bit and stick it in the refrigerator for a few days if you’d like.
Canning Instructions:
When making jam that you plan on canning, well… it’s kind of like a circus. You are juggling a lot of different things at one time. In my instructions below I will give you the exact technique I use.
It’s NOT hard. It’s as simple as can be, but I understand the process can be daunting. Follow my steps and you will be just fine!!!!

Canned No Pectin Strawberry Jam
Ingredients
- 16 cups fresh strawberries cut into quarters
- 4-5 cups shredded apples gala is my favorite
- 1 tsp. lemon juice
- 1 tsp. lemon zest
- 2 16oz tubs white creamy honey purchased from Walmart
Instructions
- I like using 16oz wide mouth mason jars. You can use whatever size you want. The first step is to put at least 8 16oz mason jars in the dishwasher. I typically will add 9 or 10 if I'm using different sizes. For this batch, I used 2 8oz jars to make for gifts. I always choose the quick wash, which generally takes 30 minutes. You want your jars to be sterilized and hot when you pour your jam into the jars. ***If you dishwasher is done running before you are ready for them, it's OK! They can sit in your hot dishwasher while you finish up.
- Next, add all of your ingredients (except the honey) to a large stock pot. It's ok if this takes some time. It took me about 10 minutes to get the strawberries and apples ready. I use my food processor to shred my apples.
- The strawberries and apples will release their natural juices, so bring it to a boil, then lower your heat to medium low, add your honey, and stir to combine.
- Let the jam cook and reduce a bit for at least 30 minutes, stir frequently so nothing burns. I cooked mine for about 45 minutes.
- While the jam is cooking, fill your canning pot or large stock pot with water and cover with the lid, about 2/3 of the way up. You want your jars to be covered with water while they are processing. Start heating the pot of water up.
- Also, get your lids together, put them in a small sauce pan and cover with water. Allow to simmer on very low heat.
- Once jam is ready, it will still be a bit soupy, carefully ladle the jam into your warm glass jars. Seal with a lid and ring. Carefully lower your jars into the boiling water and process for 10 minutes.
- Once 10 minutes is up, turn the burner off, and take the canning pot off the heat and continue to process 10 more minutes. Do not touch the lid to your canning pot.
- Carefully take the jars out of the pot, and let them cool on a dish towel. You will start to hear the jars "POP," then you know they are sealed and you did it right!
- Strawberry jam will last in your pantry for at least 6 months. The jam will still look liquidy when it's cooled. However, once it has time to sit in your pantry for about a week, it will firm up.
- Enjoy your ALL NATURAL jam! It's delicious!