
3-Ingredient Chocolate Coconut Ice Cream
Nothing tastes better in a sweltering heat wave than cold and creamy ice cream! Memories of ice cream melting down our mouths as kids are synonymous with summertime. With that nostalgia in mind, I’m going to share my recipe for the best 3-ingredient homemade chocolate coconut ice cream. Get ready, it’s to die for!
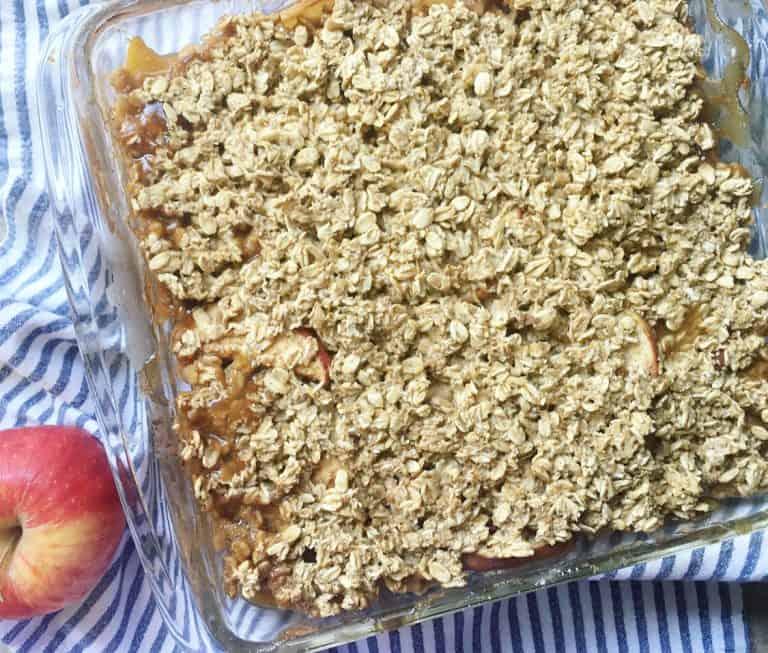
Be Sure To Try My Apple Crisp with Oatmeal Topping Next!
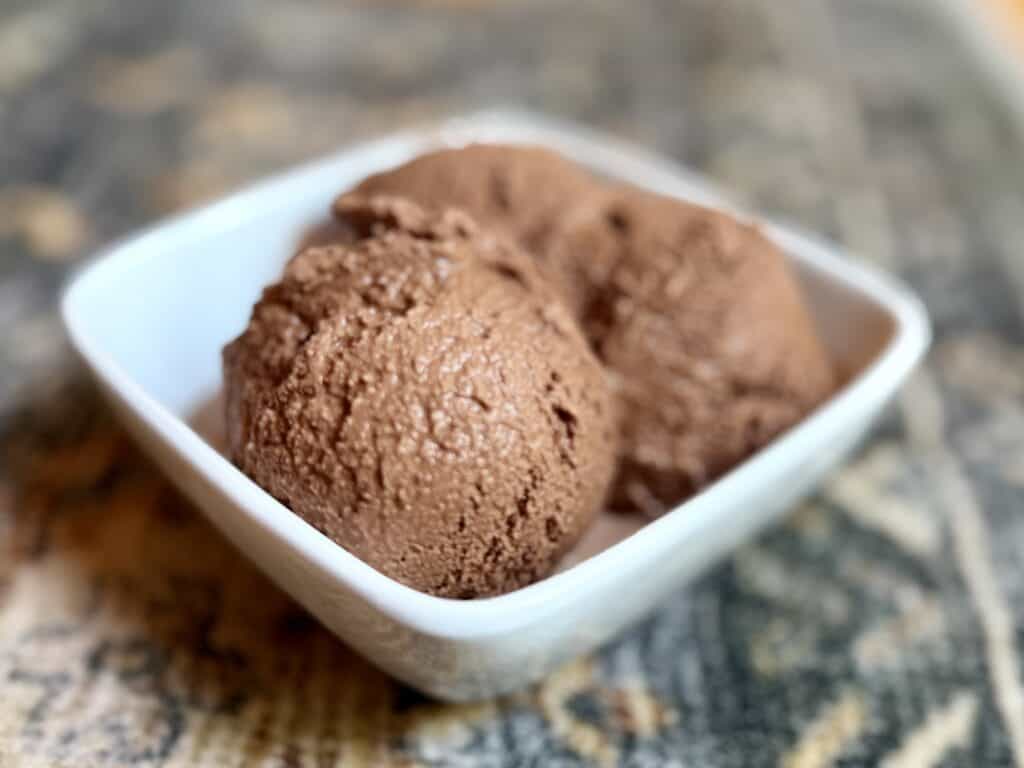
Easy Homemade Chocolate Ice Cream
Homemade ice cream is better for us than store-bought or even restaurant-served. It has fewer ingredients and can even be healthy. It’s also surprisingly easy to make. Using a personal ice cream maker, I can serve my family homemade chocolate coconut ice cream in no time.
I created this coconut ice cream with coconut milk because I wanted a dairy-free option. But we also all love chocolate! By combining coconut milk with raw cacao powder, I crafted something everybody enjoys. It’s become my go-to dairy-free ice cream recipe!
Raw cacao powder is packed with polyphenols, making this recipe actually good for you!
Polyphenols have been shown to:
- Protect DNA from oxidative damage
- Help damaged cells self-destruct instead of mutating
- Reduce chronic inflammation (a major driver of cancer)

Introducing my new Book
Real Food Lunchbox
40 simple, nourishing, and budget-friendly recipes that are kid-approved!
Make packing school lunches simple, affordable, and nourishing with 40 real-food lunchbox recipes your kids will actually enjoy. This eBook was created to help busy moms say goodbye to ultra-processed packaged lunches and hello to a wholesome rhythm of feeding their family real food, even during the busiest school mornings.
The Best Ice Cream Maker
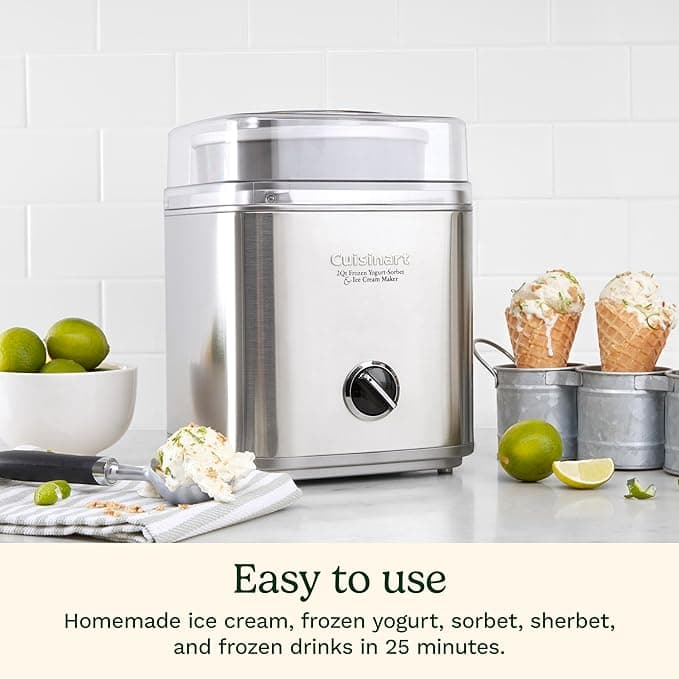
There are many ice cream makers on the market, but my favorite brand is the Cuisineart Ice Cream Maker Machine. It features stainless steel material, comes with a double-insulated freezer bowl, and the price tag won’t break the bank! It’s easily stored, but it is also a good-looking appliance; you won’t mind it sitting on the counter.
The best part? It yields 2 quarts of ice cream, which is perfect for our family of six. We use it weekly to make ice cream! Bonus: It comes with a recipe booklet, and you can also use it to make frozen yogurt!
3-Ingredient Chocolate Ice Cream
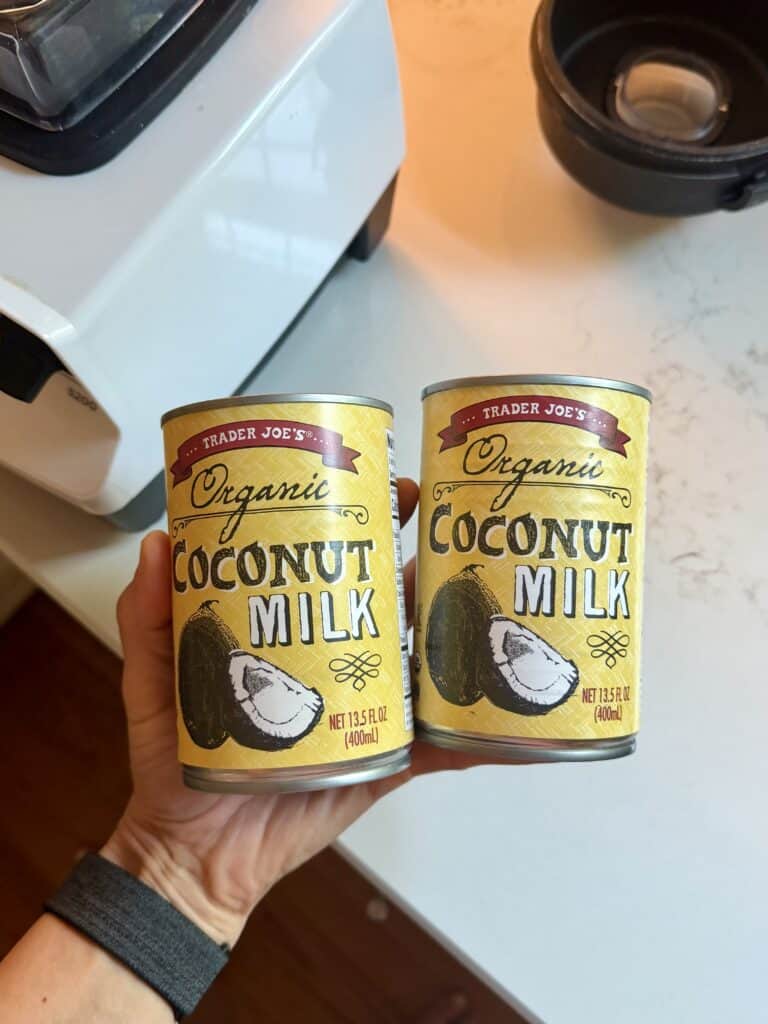
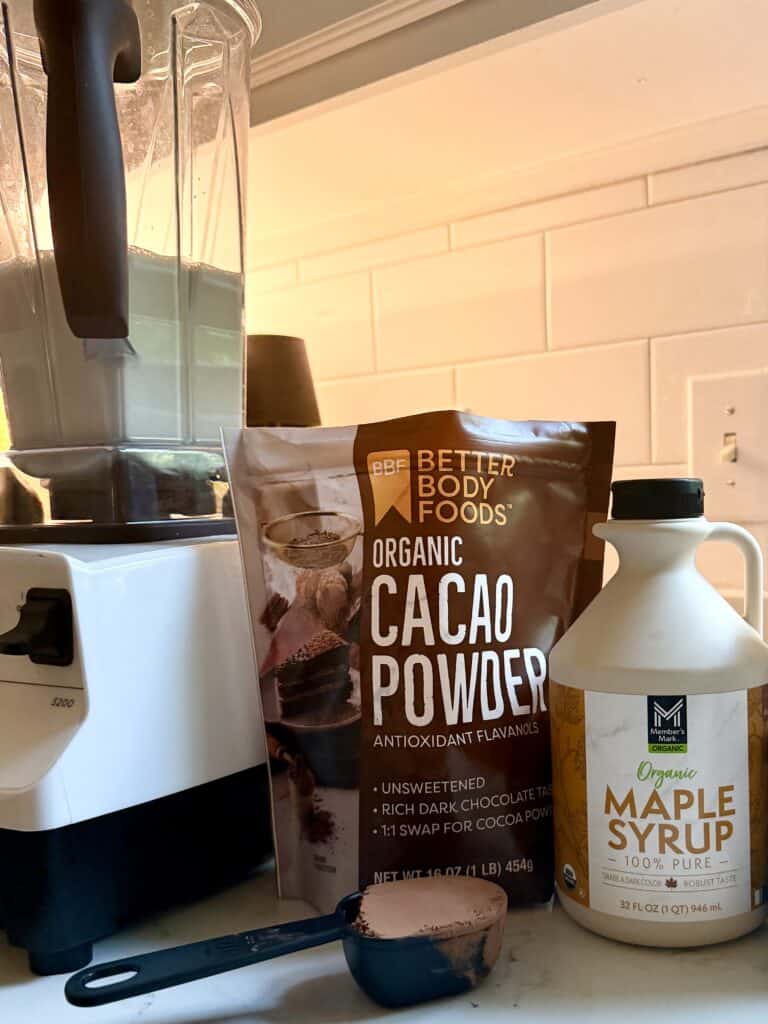
When deciding on a dairy-free ice cream recipe, I knew I wanted to make a version with coconut milk. Using full-fat coconut milk gives this dessert its creamy texture and full flavor. I prefer to use the organic brand from Trader Joe’s. Raw cacao powder is packed with antioxidants and gives it that bold chocolate-y flavor. To sweeten things up, I use pure maple syrup.
With these 3 simple ingredients, plus a quality ice cream maker, it doesn’t get any easier to make your own ice cream at home!
How To Make Dairy-Free Ice Cream
Start by acquiring all of your ingredients and pulling out your ice cream maker. In a blender, you’ll combine all three ingredients (four if you’re using vanilla) and blend until well incorporated. Scrape down the sides of the blender with a spatula to get all the cacao powder from the sides. Pour into your favorite ice cream maker.
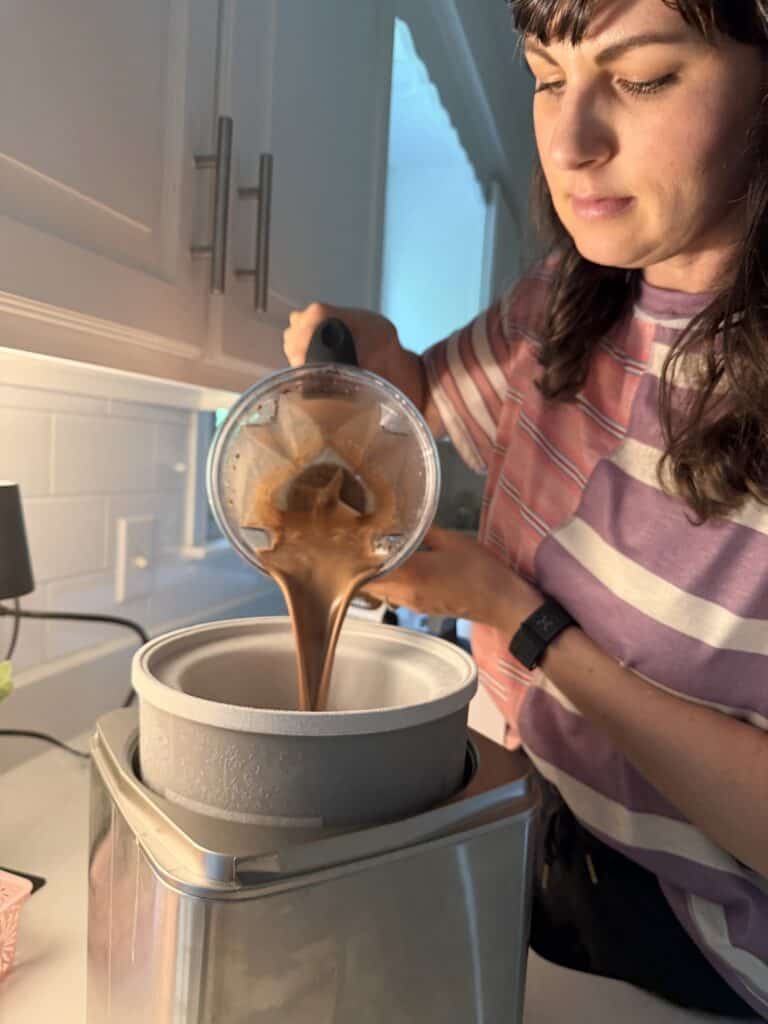
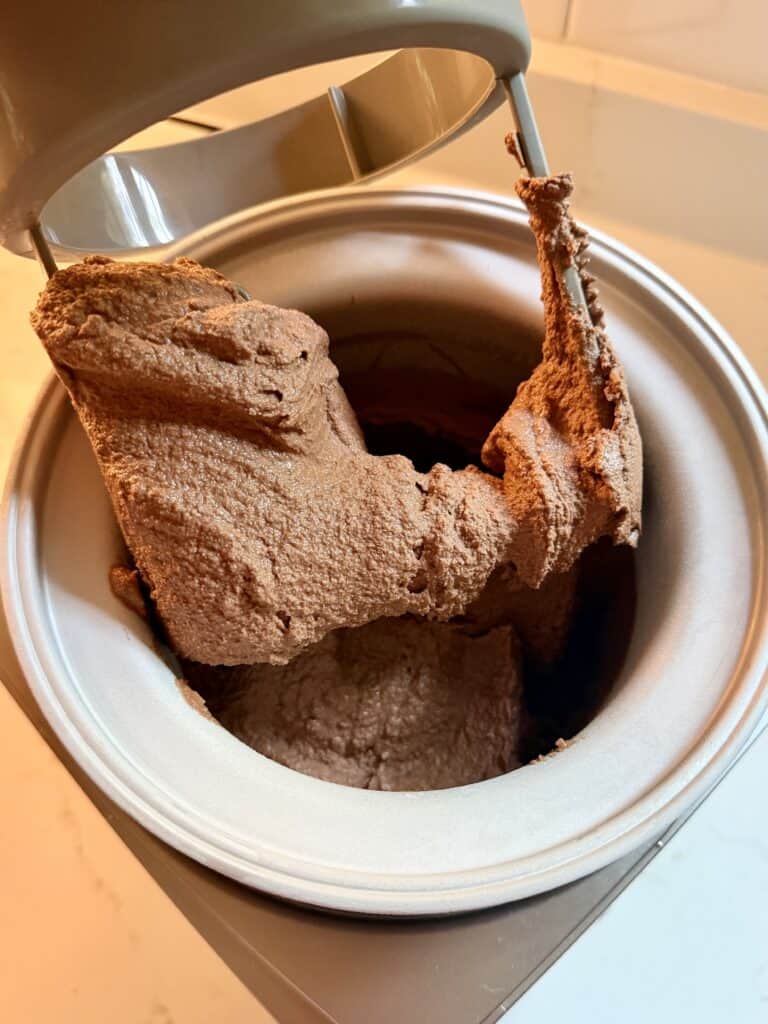
Next, allow your ice cream to churn for approximately 25-40 minutes. The timing largely depends on whether your coconut milk is chilled or not. To speed up the process, refrigerate your coconut milk. After the ice cream is churned and thickened, you can do your add-ins now and allow the machine to mix, or put them in at the end.
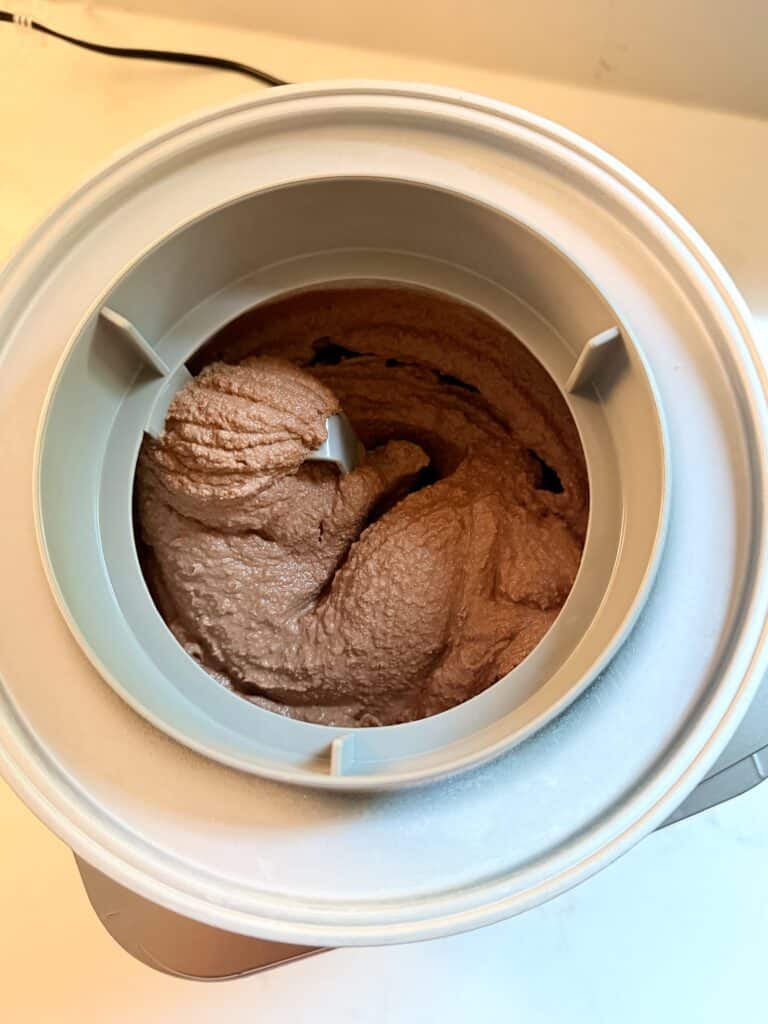
Now, this is the consistency you’re looking for. Transfer the ice cream using a spatula (I like using my rice cooker spatula) to a freezer container and chill until ready to serve. You can add toppings like chocolate chips, sprinkles, or crushed up Oreos at this point, or add them to individual servings. Ice cream will stay fresh and delicious for at least one week, if it lasts that long!
Optional Add-Ins & Alternatives
Making your own ice cream doesn’t have to be intimidating. Let it be a fun experience for everyone by creating a self-serve ice cream bar or offering colorful and interesting add-ins that your family and friends would love to mix in! If chocolate isn’t your thing, omit the cacao powder, add vanilla extract or vanilla bean paste, and enjoy a simple vanilla ice cream that’s versatile for many toppings.
Consider these toppings (many are available gluten-free if needed):
- Crushed oreos
- Cookie dough
- Sprinkles
- Dark or white chocolate chips
- Chopped nuts
- Nut butter
- Fresh summer berries
- Summer peaches or nectarines
- Your favorite jam
- Coconut flakes
- Crushed waffle cone
If you enjoyed this dairy-free ice cream recipe, you’ll find some of our family’s favorite dairy-free recipes below. I offer a variety of dairy-free options on my website, if that is what you are looking for. Bonus, these also include chocolate. We hope you enjoy trying out some new recipes and making some new memories with your family this summer!
other recipes you might enjoy:
- Best 3-Ingredient Hot Chocolate
- Brown Butter Chocolate Chip Loaf Cake
- Healthy No-Bake Buckeye Bars
- Oat Flour Gluten Free Brownies
bonus recipes:
Try my Simple 2-Ingredient Strawberry Syrup as a bold and fruity addition to your homemade ice cream! Want something richer and more decadent? Try making my easy 2-Ingredient Caramel Sauce.
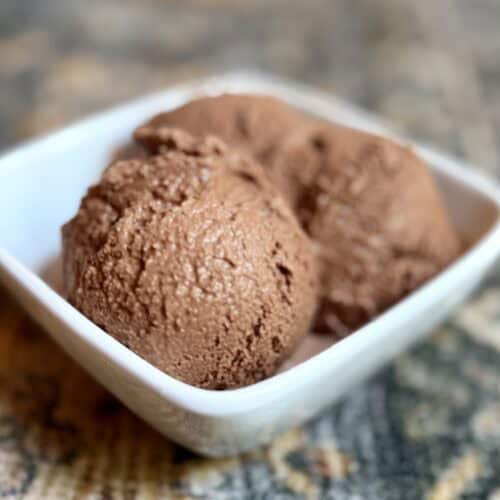
3-Ingredient Chocolate Coconut Ice Cream
Ingredients
- 2 cans full-fat coconut milk
- 1/2 cup cacao powder
- 3/4 cup pure maple syrup
- 2 tsp vanilla extract (optional)
Instructions
- In a blender, add all ingredients. Blend for 20-30 seconds. Scrape the sides and blend again if necessary to get all the cacao powder incorporated.
- Pour in your favorite ice cream maker.
- Because the coconut milk is used at room temperature, the ice cream typically takes about 40 minutes to churn and firm up. If you refrigerate the coconut milk overnight before making the recipe, the ice cream will be ready in about 25-30 minutes.
- Once the ice cream starts coming together, you are welcome to add goodies, like 1/3 cup mini chocolate chips or the Simple Mills Oreos (crushed up), which are a great add-in for special occasions.
- Transfer the ice cream to a container and freeze until ready to serve. Using a rice spatula (usually included with a rice cooker) is most effective for removing all the ice cream from the container.
- Ice cream will stay fresh and delicious for 1 week.
Post Disclaimer
This page contains affiliate links. When you purchase through them, you help support Homemaker on a Budget. Thank you for being part of this community!


How can I make this without an ice cream maker Aimee? Or is it not really doable? Also, can I use AYAM Coconut cream instead of milk? It’s the best brand I can buy in Aus and is more pure than any of the milks. Thank you x